How To Use SayIt for Backend Transcription using your iPhone
To create dictations for backend transcription:
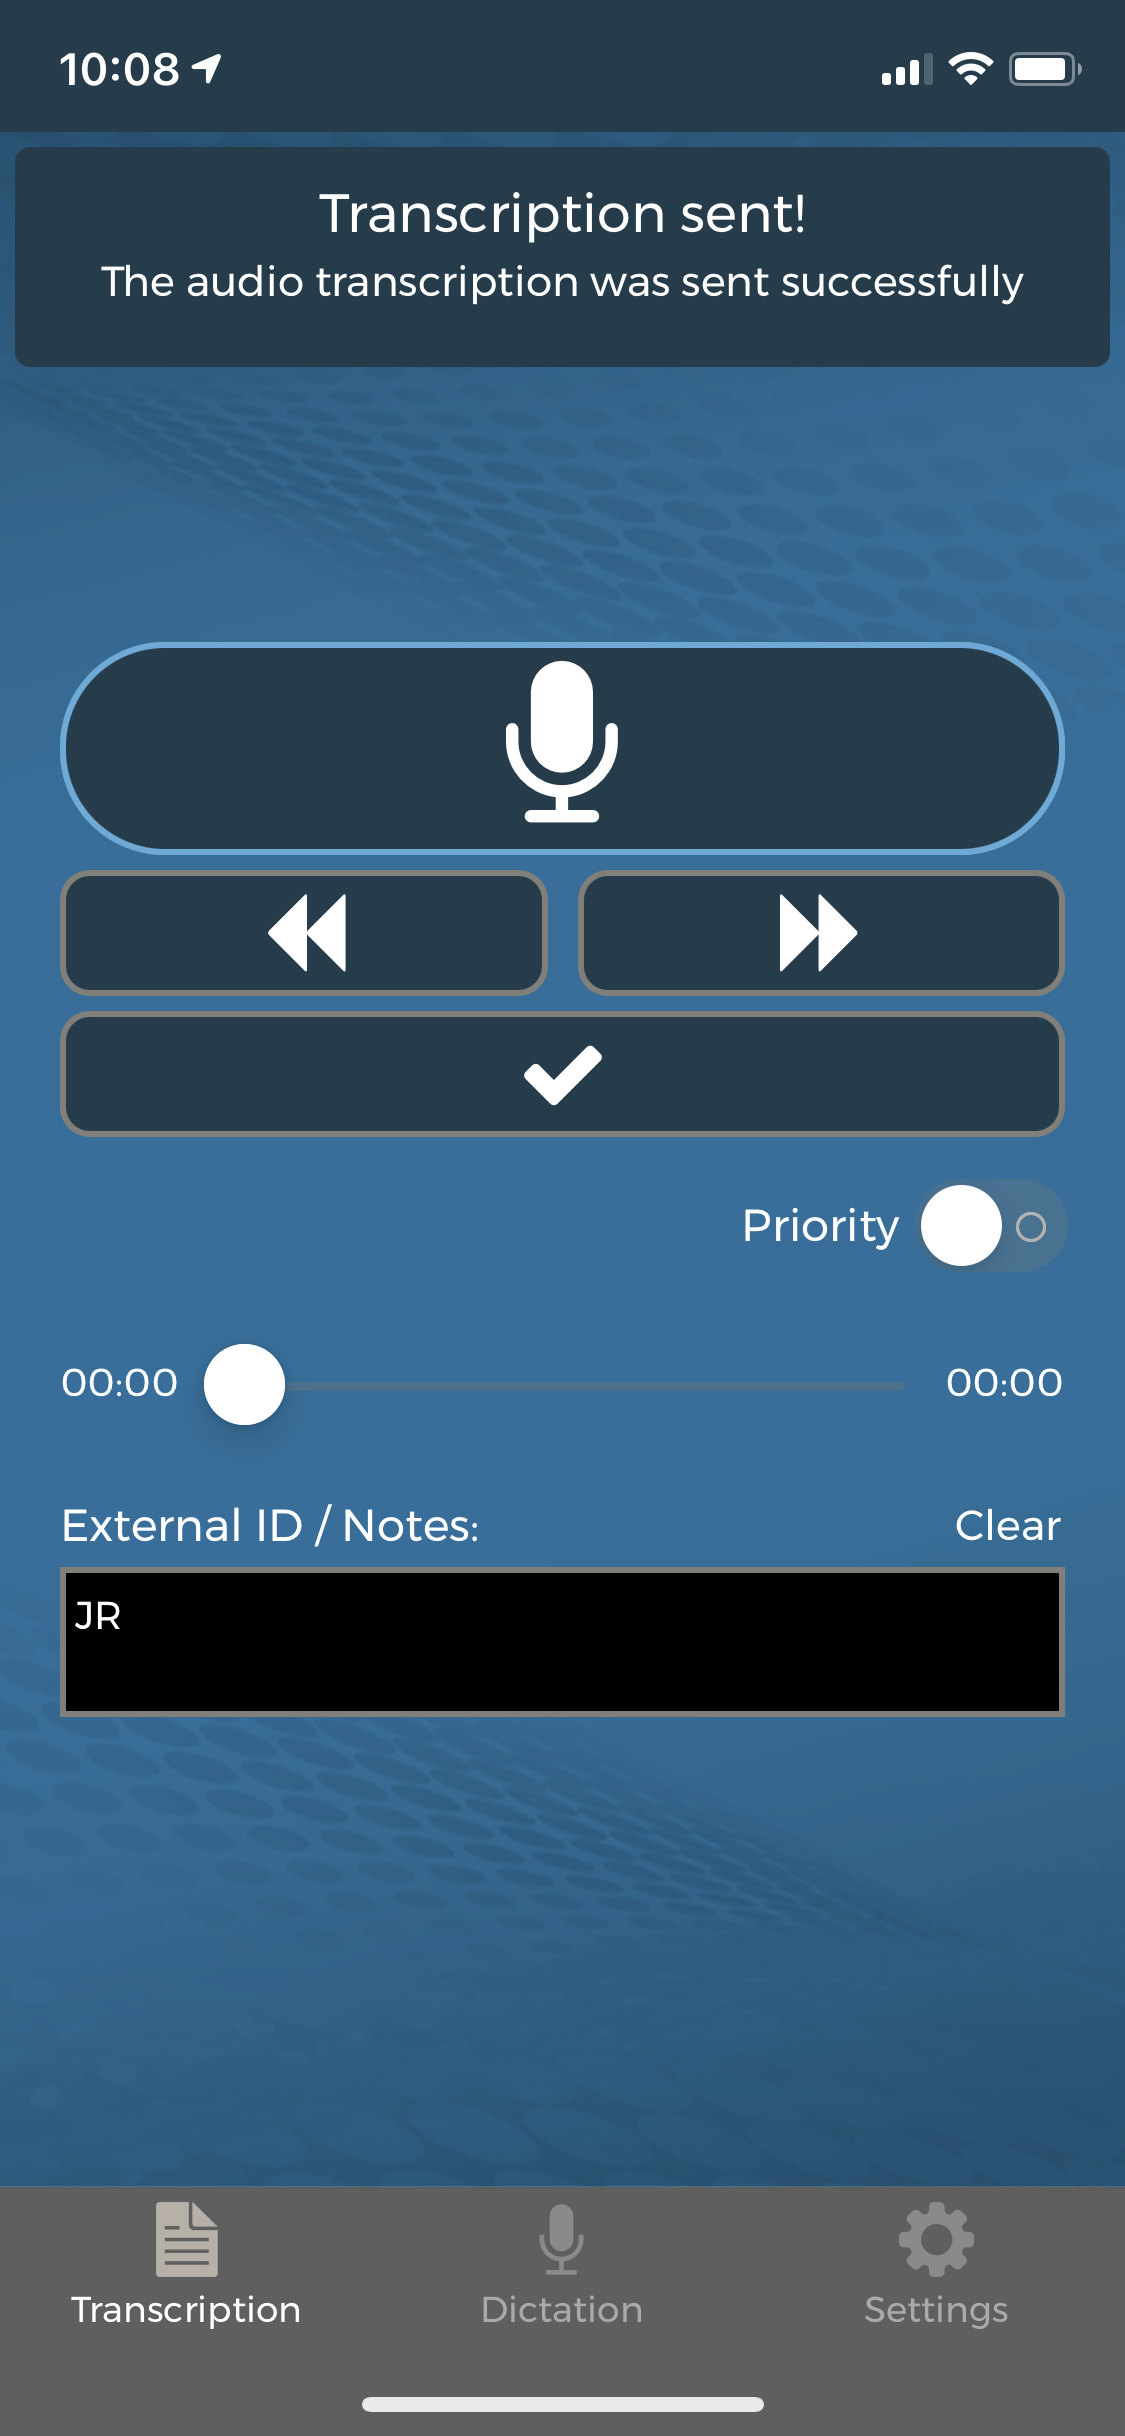
1. In the nVoq Wireless microphone application, tap the Transcription button on the bottom left of the screen
2. Enter an identifier to be able to locate your dictations easier when reviewing them on the server later.

Although SayIt is HIPAA compliant and completely secure, you may not want to include the full patient's name in the identifier field. You could use initials or something like First name and Last Initial.
3. Dictation your note. Turn the microphone on by tapping the Microphone button and then turn off by tapping again.
4. When done your dictation, tap the Checkbox button which will bring up a confirmation box. Tap Send to send or Delete to delete it. Note: You can't receiver it if you click Delete.
5. You will see a confirmation banner when the dictation is sent. It will be available for review in a few minutes tops.
To review your backend transcriptions:
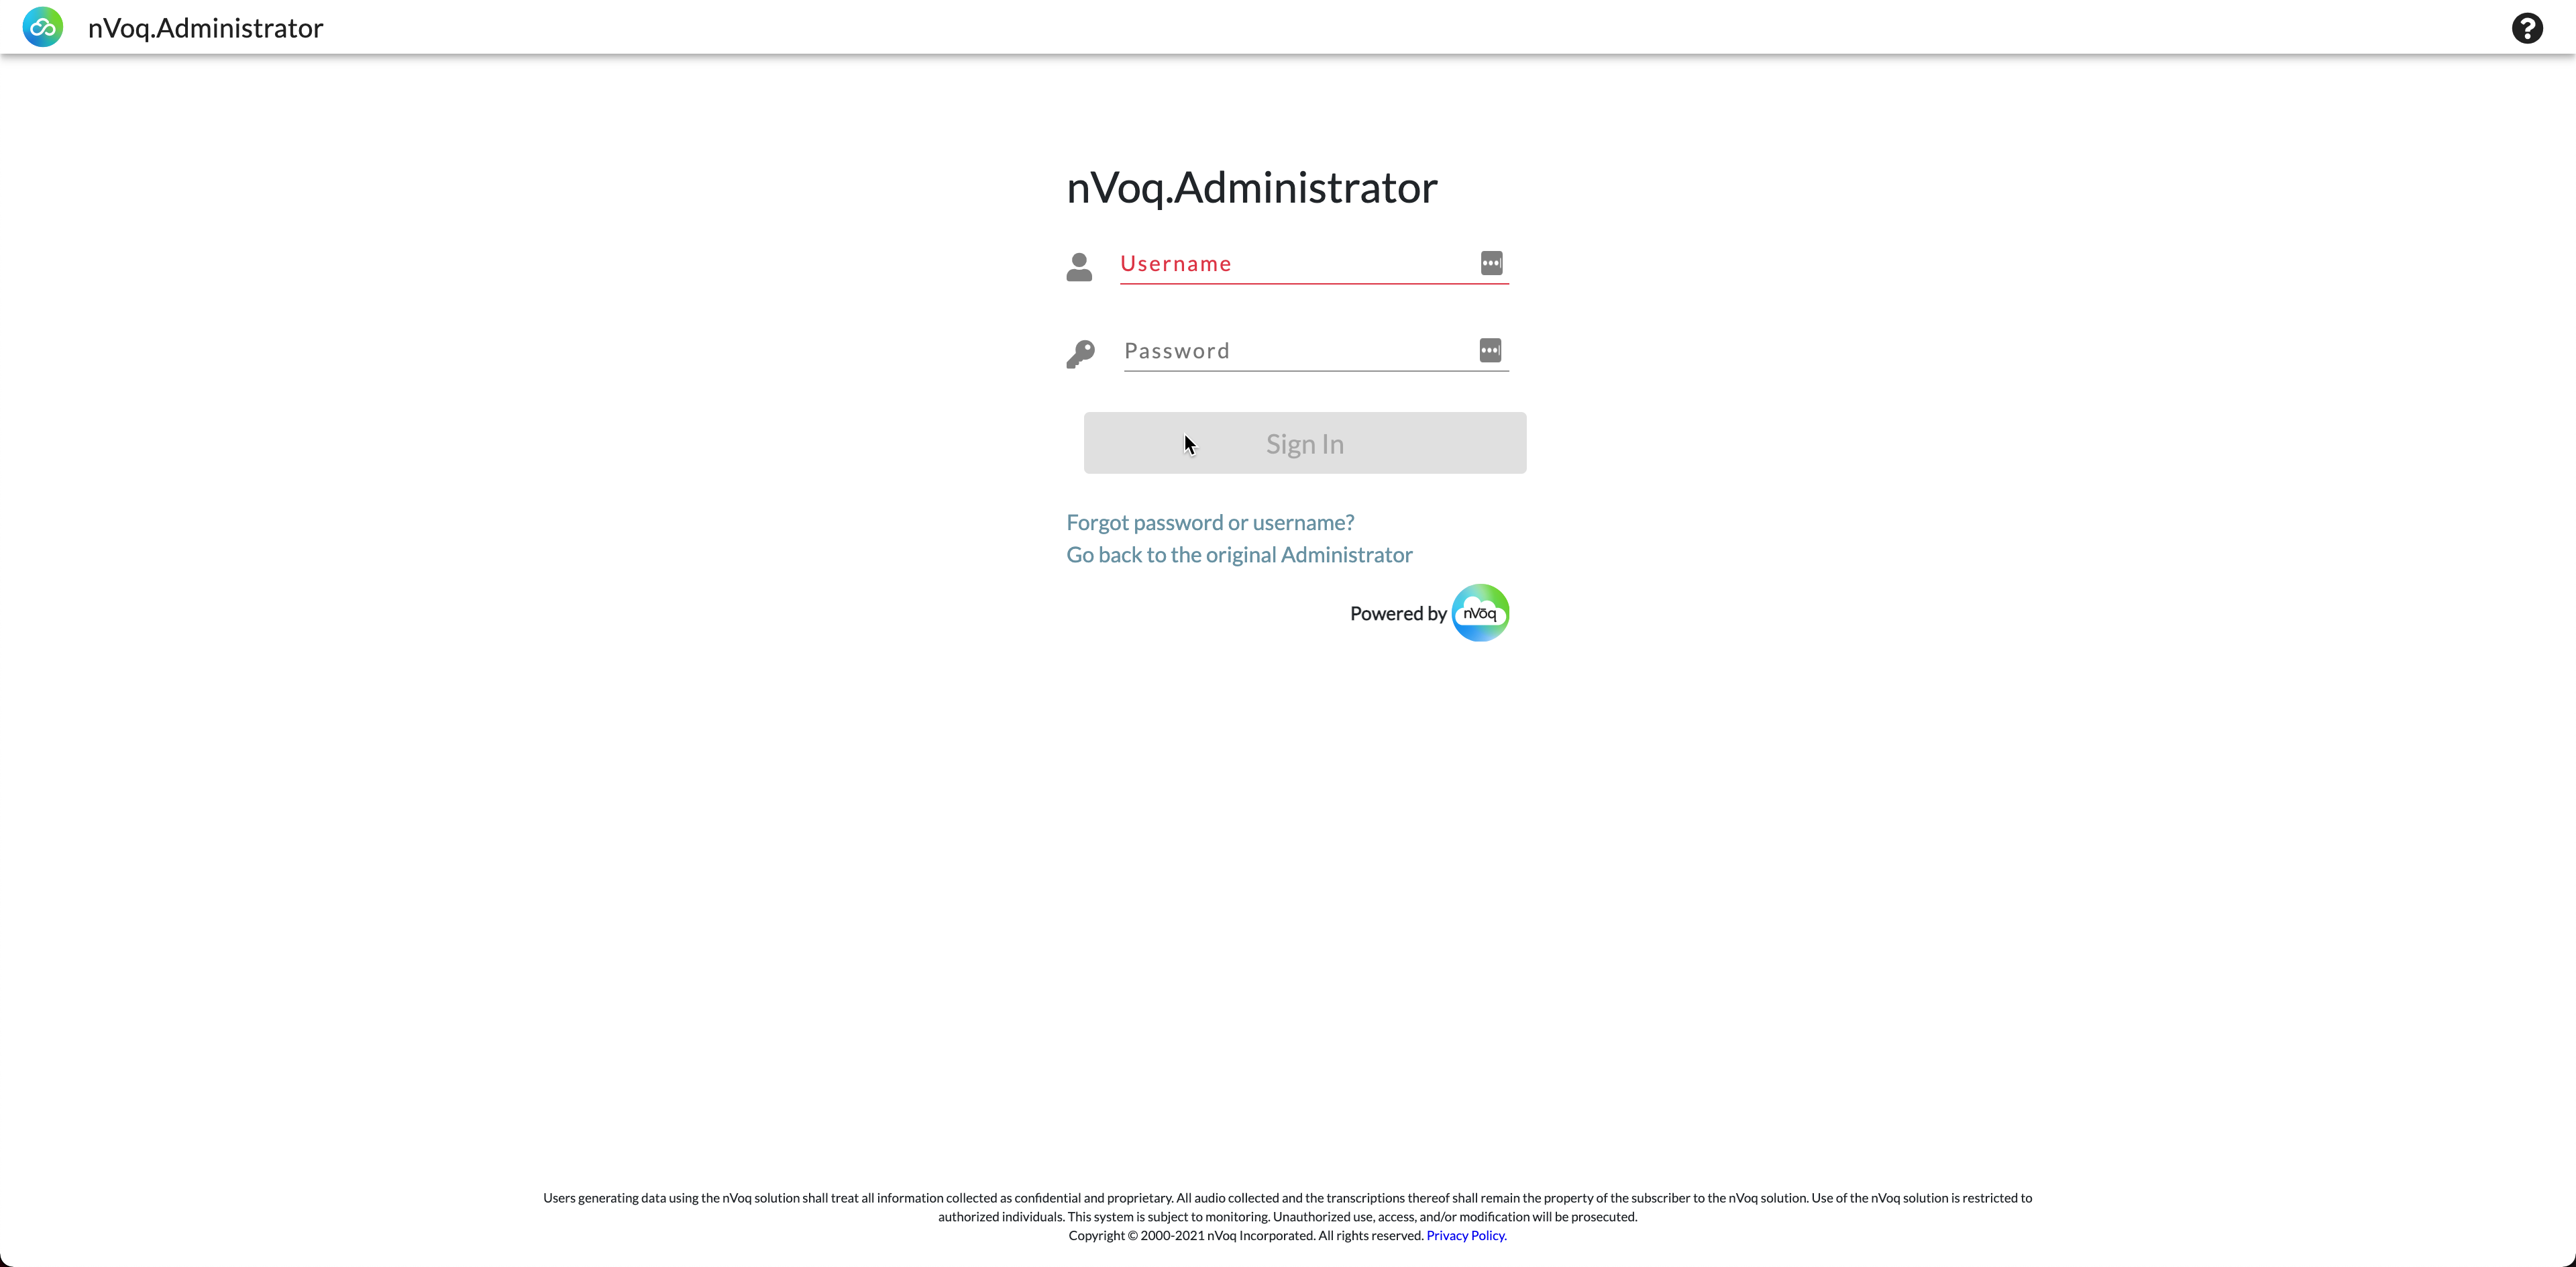
1. Open a web browser (Chrome is preferred) and navigate to https://canada.nvoq.com/admin
2. Login to the nVoq Administrator with your SayIt credentials
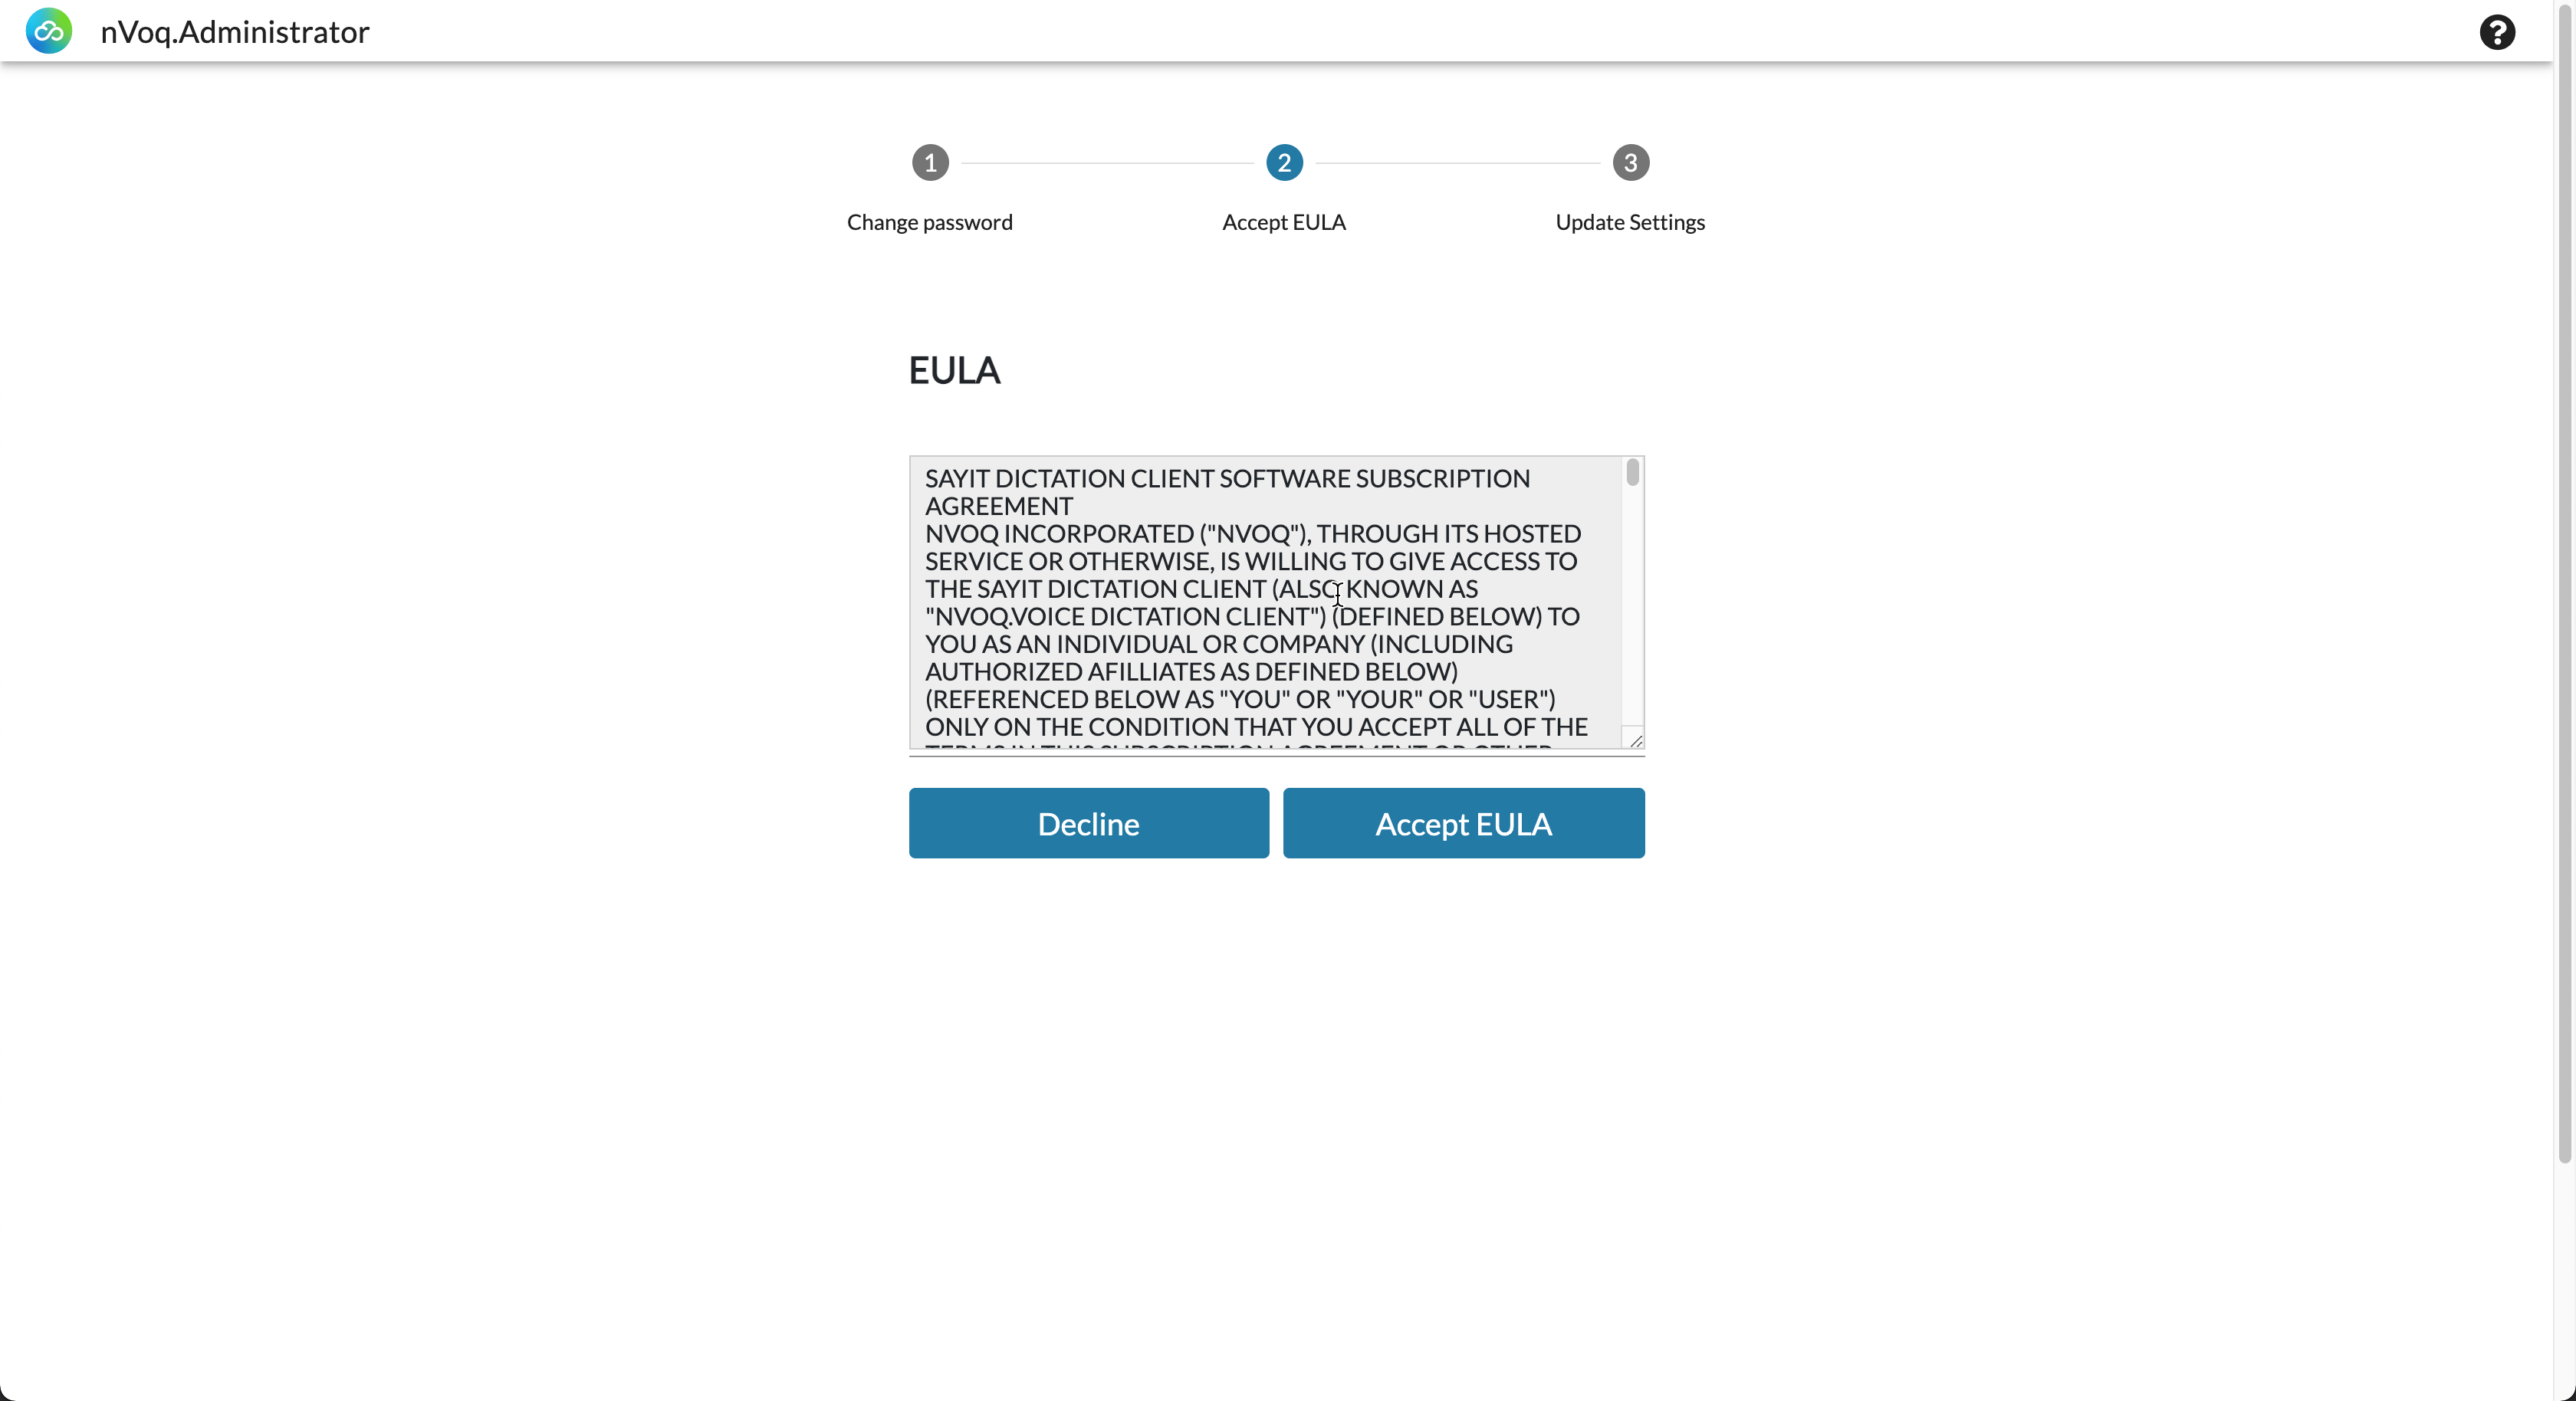
3. You may get prompted to accept the nVoq EULA. Review and click Accept EULA
3. You may get prompted to accept the nVoq EULA. Review and click Accept EULA
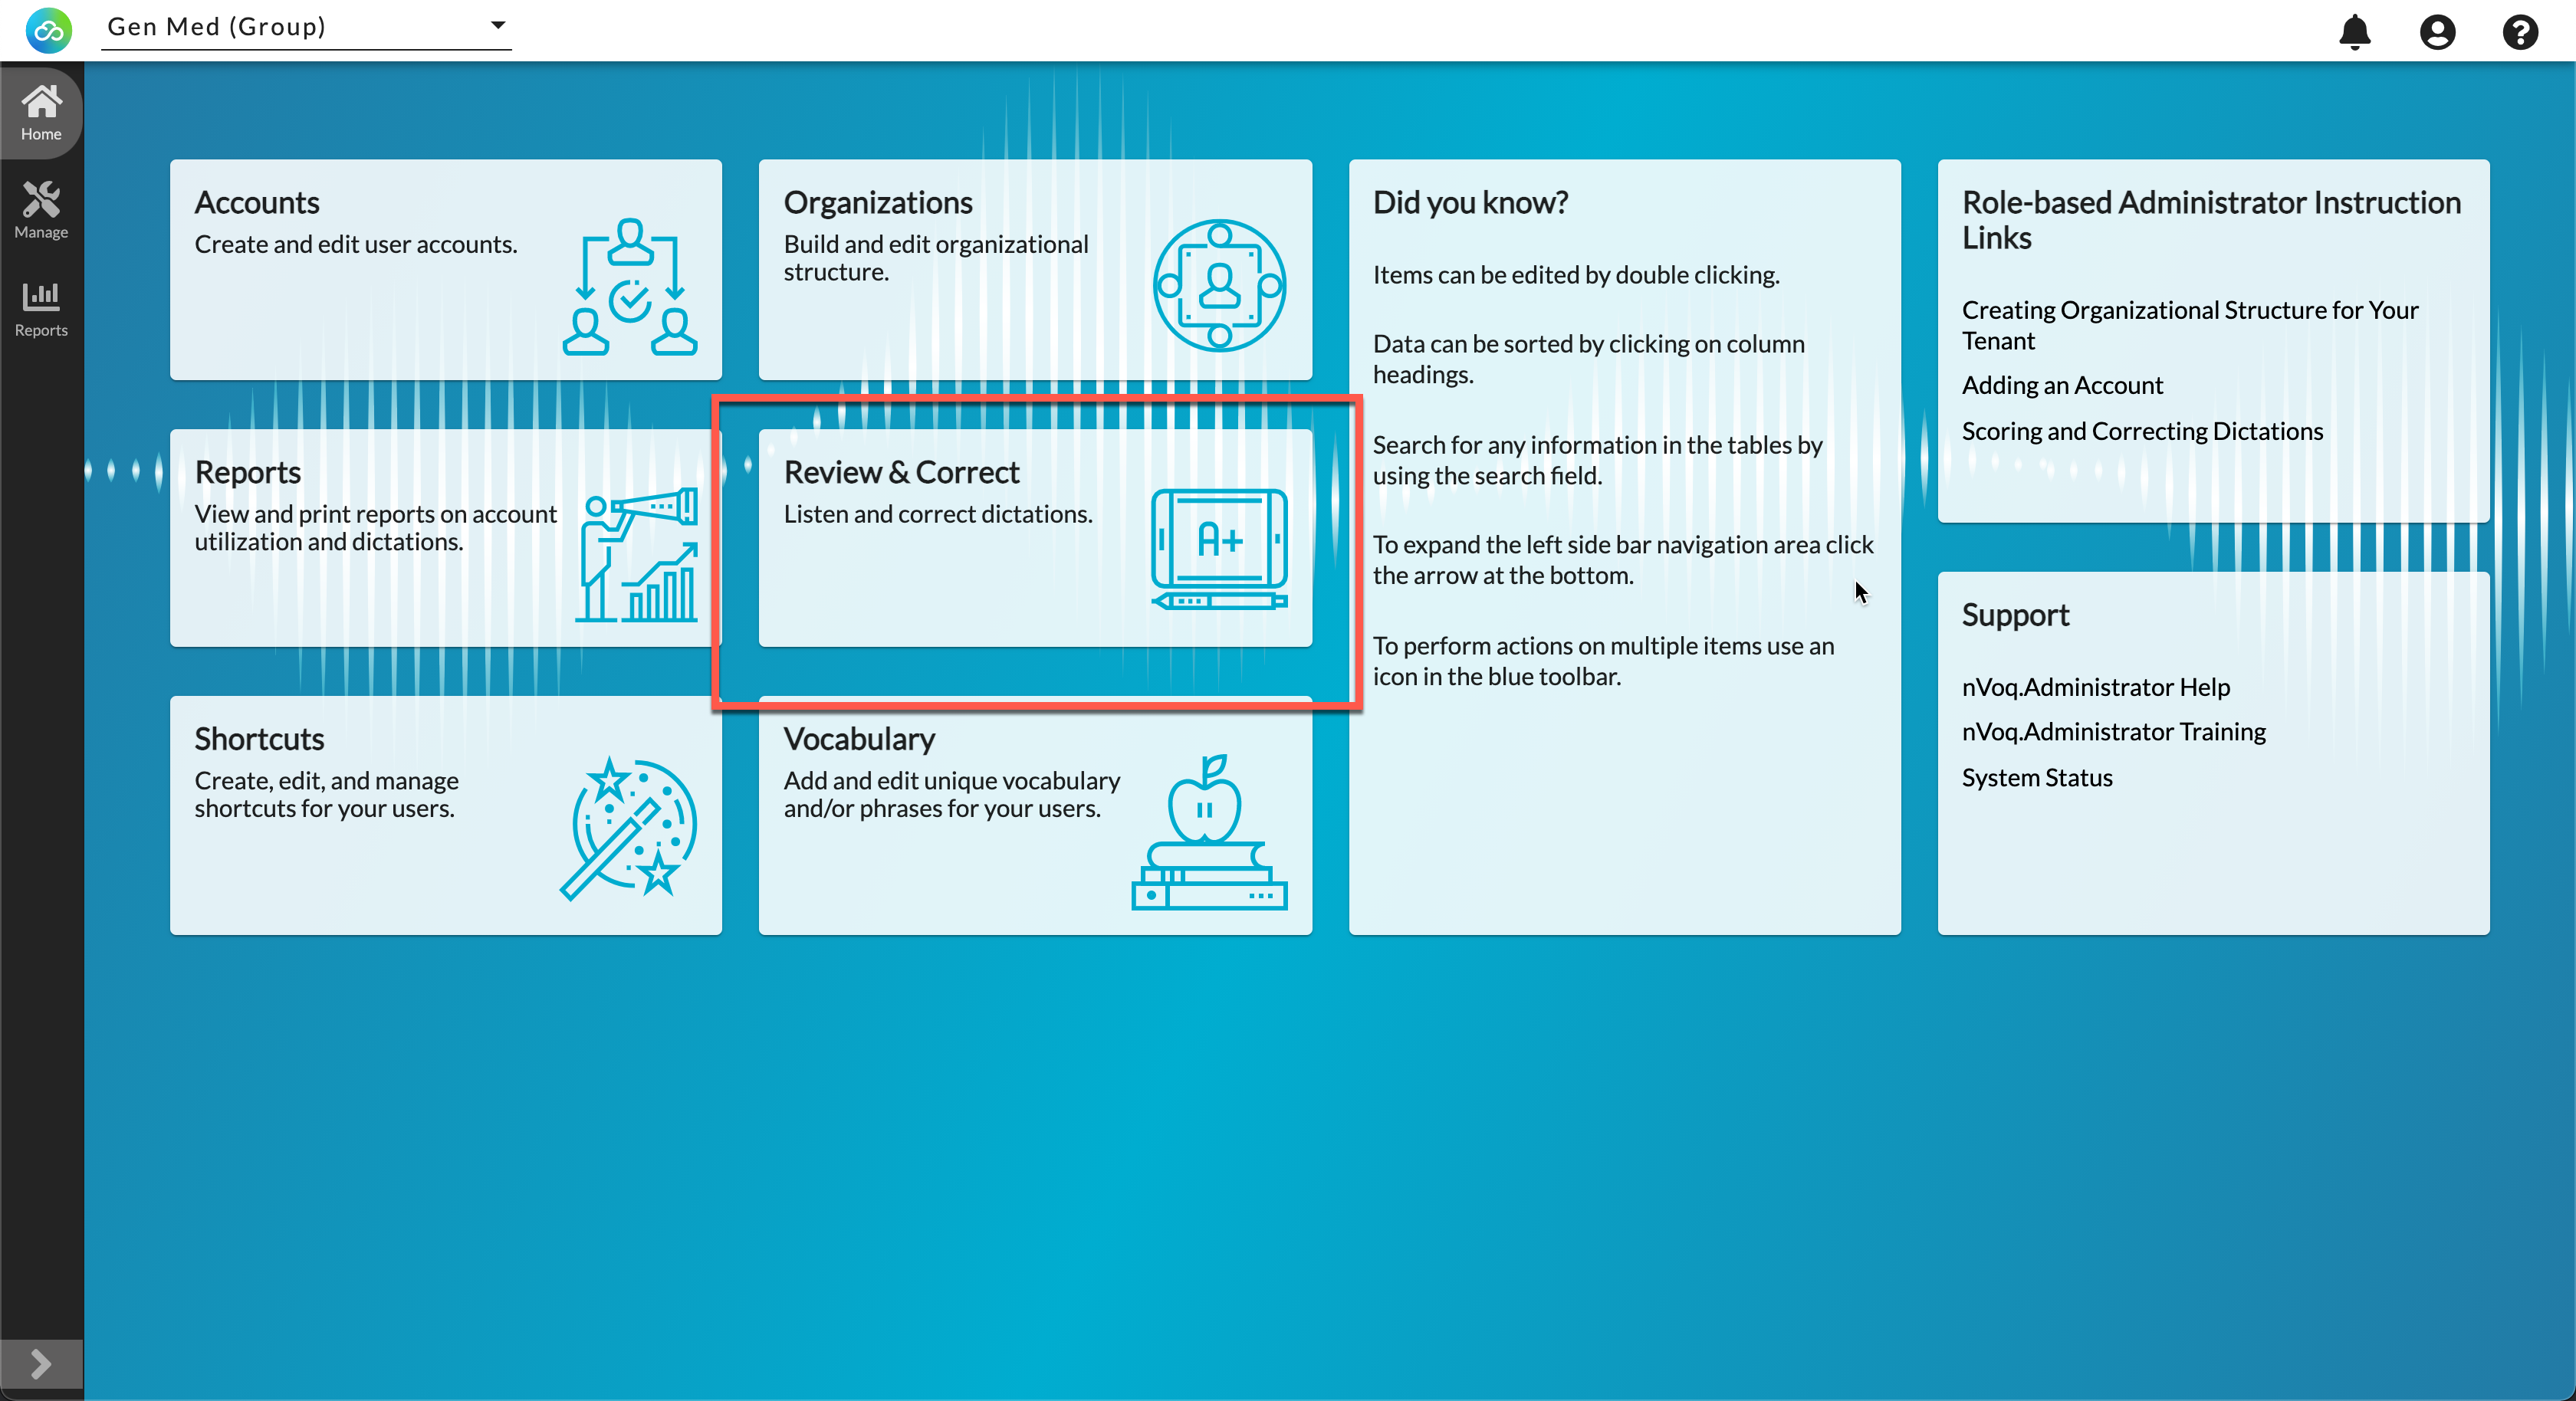
4. From the nVoq Administrator dashboard, click Review & Correct
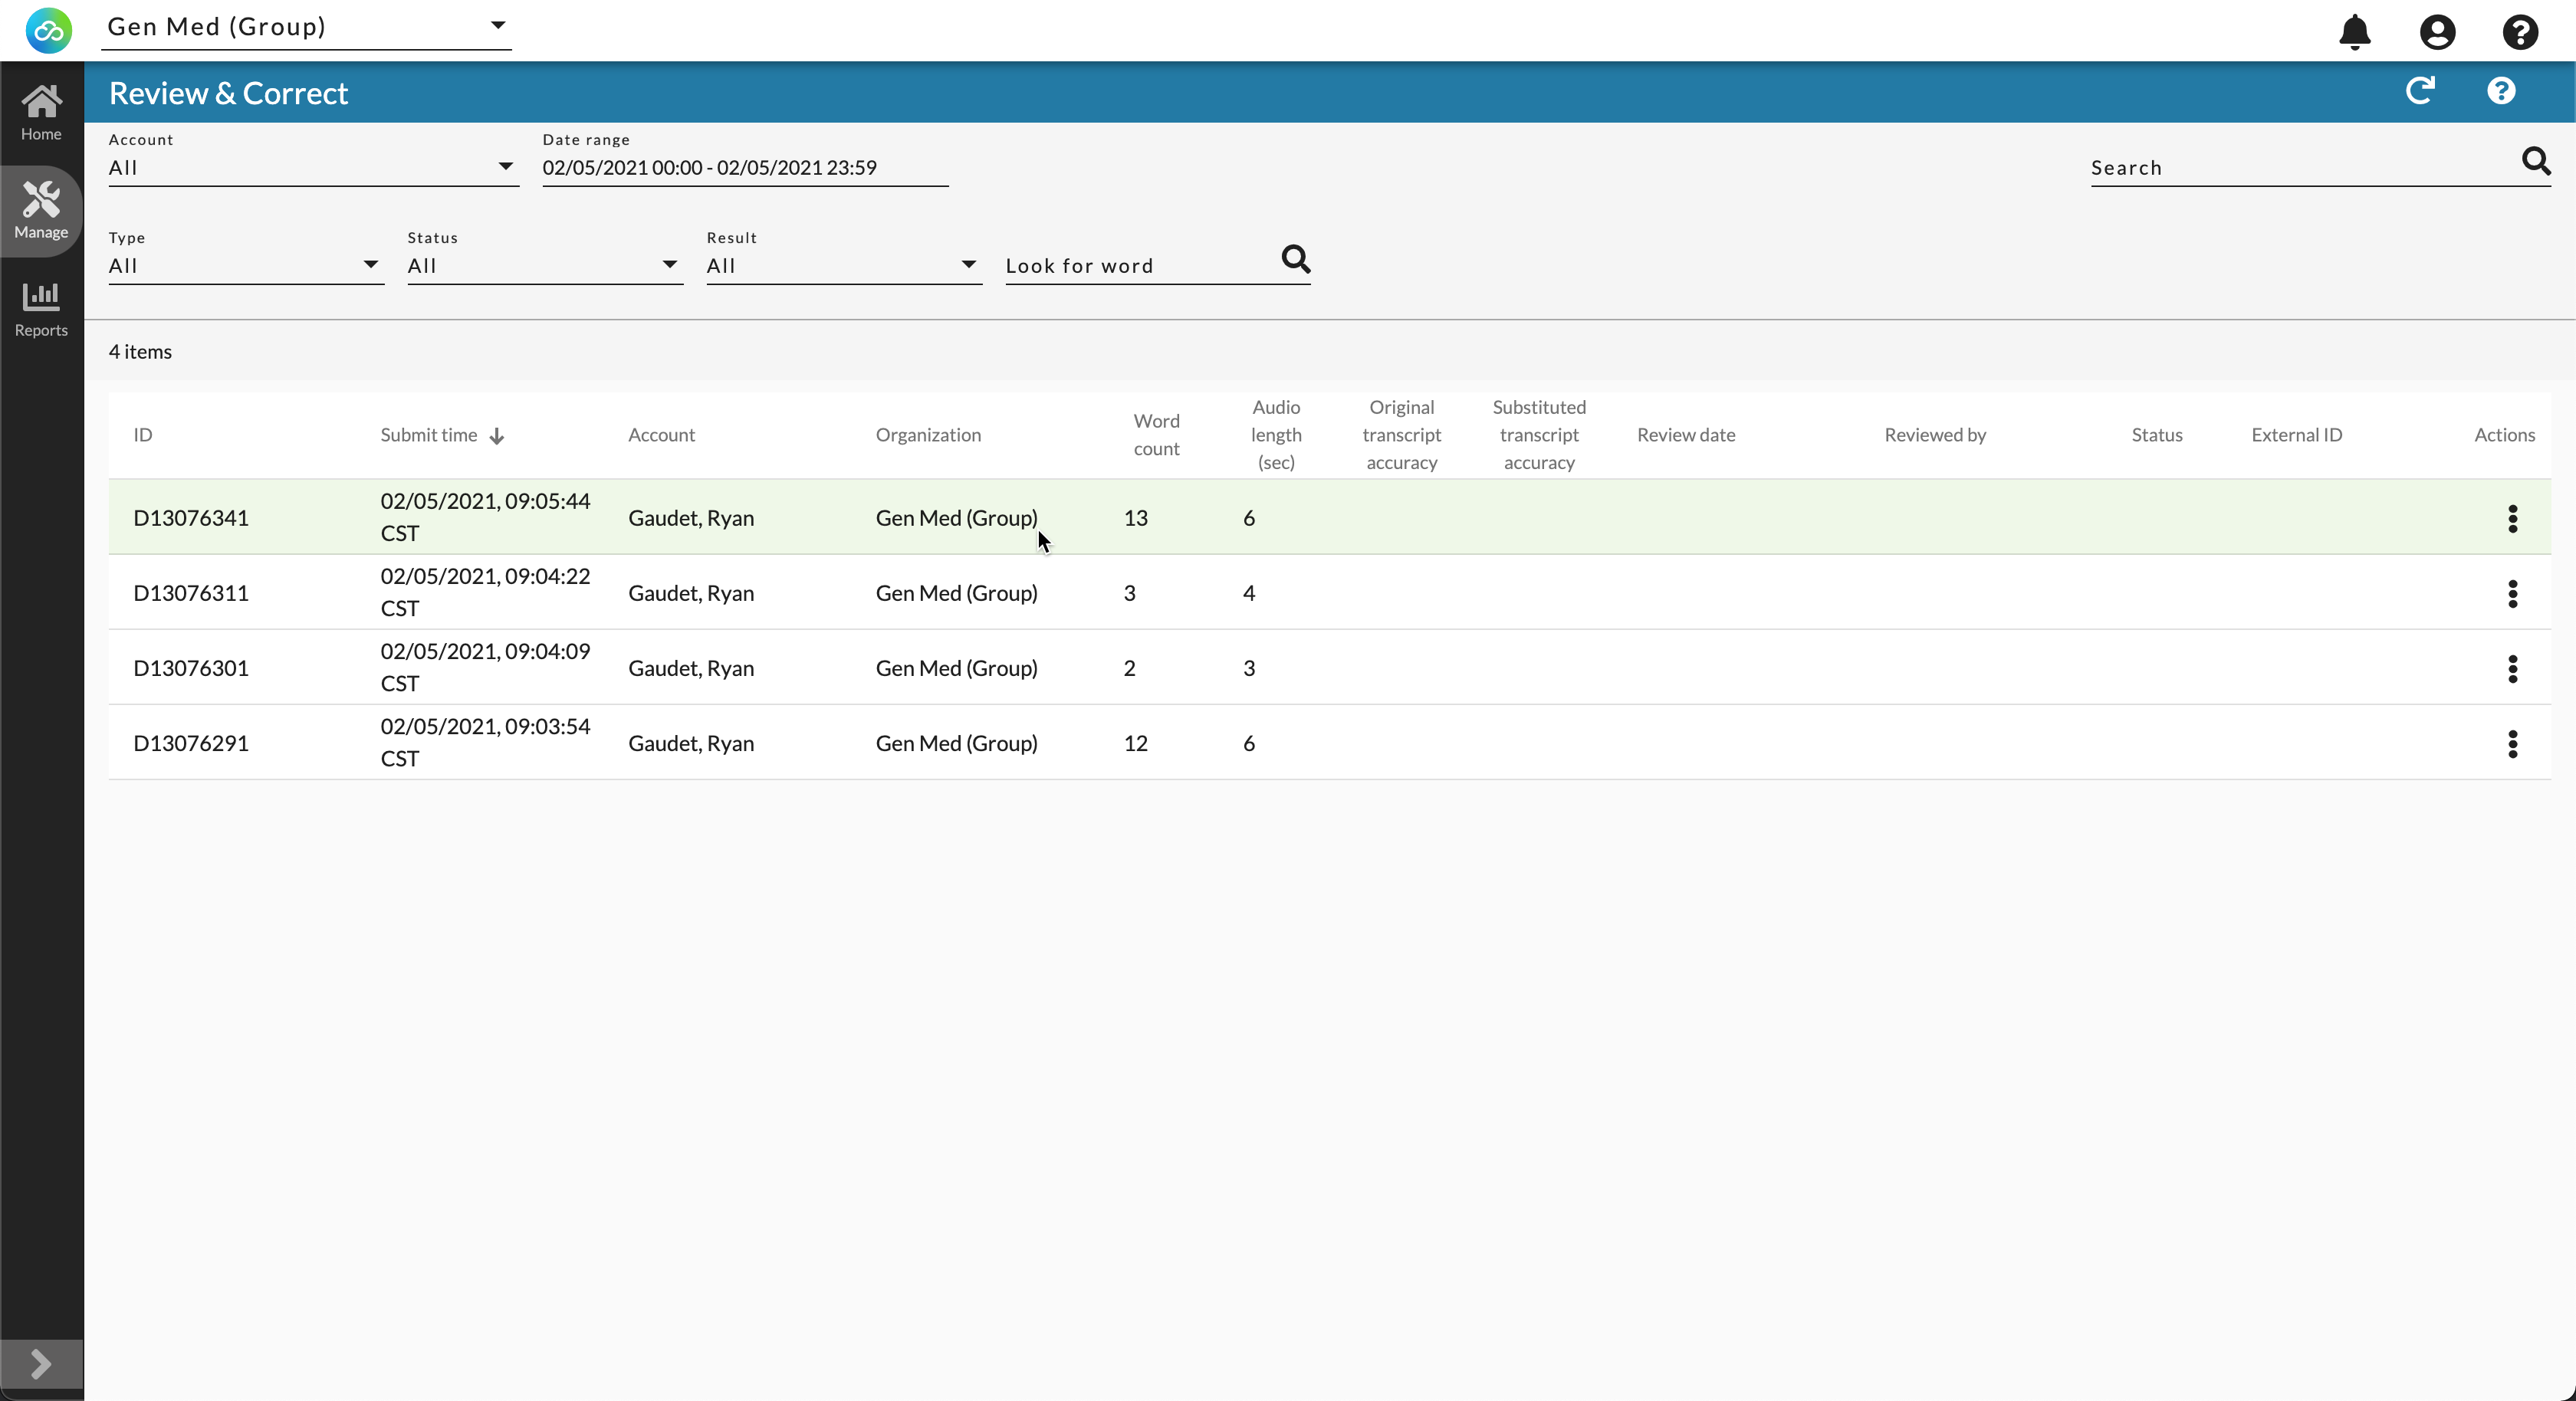
5. In the Review & Correct page, you should see your recent dictations in the list as shown below. You can search for specific dictation identifiers in the Search field and you can also search by date.
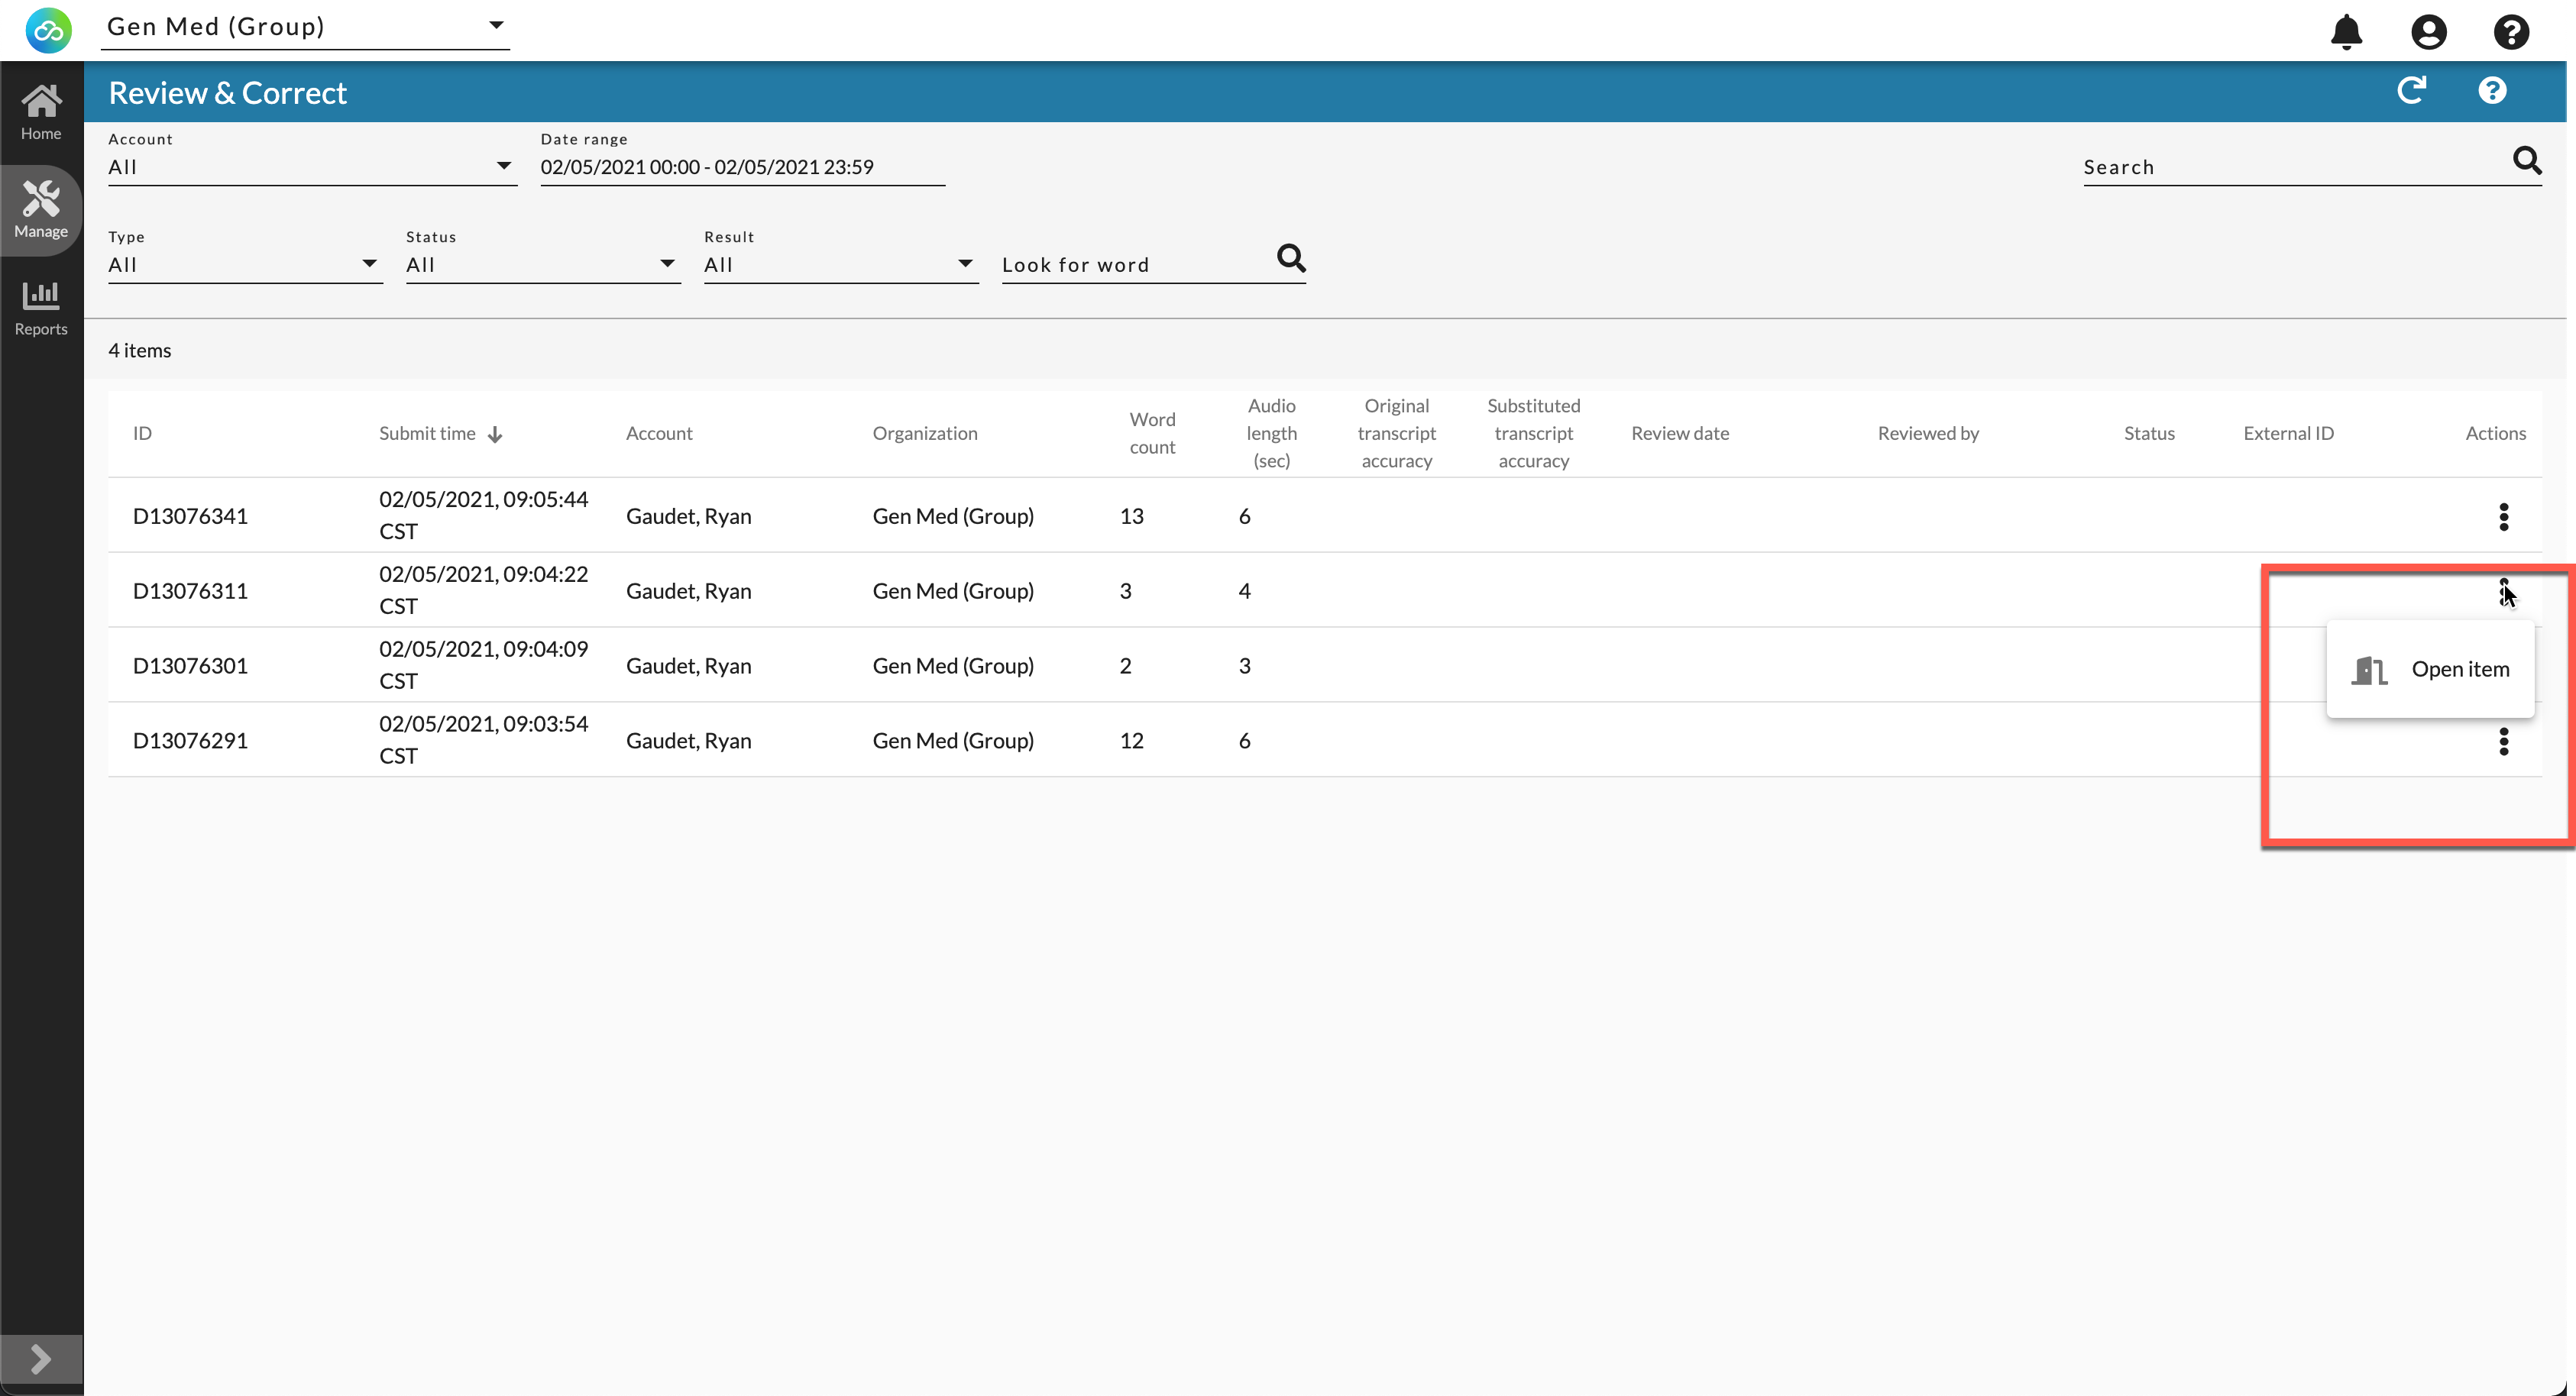
6. To review a dictation, click the dot menu to the right of the dictation and click Open Item
7. From the Detail Review & Correct you will see your recognized text around the middle of the page. You can listen to the audio if needed or you can simply copy the text and paste it into your EMR.
By default, your audio and text are stored for 365 days so you can review your data anytime up to that. This can be adjusted as well if you'd prefer to reduce the length of time it is stored.
Related Articles
How to use the nVoq Wireless Microphone (iPhone or Android) with SayIt
To use the nVoq Wireless Microphone with SayIt, follow these instructions: 1. Download the nVoq Wireless Microphone from with the App Store for iOS devices (iPhone) or the Google Play Store for Android devices. Note: On the Play Store, there are two ...How to configure Winscribe Professional App
1. Download and install the Winscribe Professional app from the App Store (NOT the Winscribe Medical App) 2. Launch the app and click on the Settings tab at the bottom 3. Enter the Author ID and password. 4. In the WsPPC Web Server URL, enter the ...How To Setup SayIt on a Mac - Updated
Note: Current version of SayIt is 17.0 and the minimum support macOS version is 11 however it is highly recommended to update to macOS 11. M1 processors are now supported as well. Just be sure to enable code signing in step 7.3 to ensure local USB ...How to add SpeechExec Jobs to Speech Recognition Queue
This is assuming SpeechExec is already configured to use Dragon. See attached document for details.How to Set Accessibility Settings in macOS for SayIt
When installing SayIt on a Mac, you will get prompted to configure accessibility settings when you first launch SayIt. This setting allows SayIt to interact with macOS for keyboard interaction as well as to be able to transfer text to apps on your ...